Nfu Oh 64

Hello everyone! I know I know I've been so awful about updating! I have found the danger that is Koreanovelas. My parents and I have been immersed in EVERYTHING Korean...tv shows, music, language etc.

Anyhoo...I've been called back to Holo city and I came back with...Nfu Oh 64! 64 is a mauve-y lilac linear holo that is totally in your face!!

Pics taken in direct sunlight or low sunlight.


These pics were taken right beside my window in direct sunlight.


These pics were taken outside in low sunlight. But you can still see the holo-y goodness!

I used the Aqua Base Coat (which is SUCH a time and polish saver). Then I did the sandwich method: one coat of 64, top coat, another coat of 64 then top coat.

I know they say using a top coat dulls the holo a bit but hey if it extends the life of my mani...why not? Besides...it's still holo enough for me!

I've also ordered Nfu Oh 65 which is a light blue linear holo and as soon as I get it, I'll swatch it for you guys.

I need a Clairvoyant to find the Secret Peri-wink-le!

Hello beauty lovers!! Happy Easter Monday to you all! I'm off today, so it's time for another update!!

I was able to pre-order The Super powers collection from Cult Nails when they released it in November of last year. I originally just ordered it for Clairvoyant because I missed out on the Unicorn Puke craze but now I'm so glad I ordered all of them.

Anyways, with that intro, I present my current nails du jour...Secret Peri-wink-le and Clairvoyant! Mind you, I painted my nails last night and I THOUGHT I cleaned up pretty well. Then in comes the macro shots. *facepalm*


I did 2 coats of SP and 3 coats of  Clairvoyant over 1 coat of SP on my ring finger.

Bottle shot in the sun! This polish is just too awesome for words! I think every coloured flakie that ever existed has chosen to reside in this bottle and is now in suspension in the purple jelly base.

Warning: Macro shots ahead. Not only will the polish make your head spin, but the state of my cuticles will too! I'm working on it, I promise! I just bought the ProFX  Apricot Cuticle Oil from Walmart and I'm really liking it!


Obligatory bottle shots!


Here's another post about Secret Peri-wink-le  and another flakie polish, the HTF Hidden Treasure! 

Have a happy Monday everyone and here's to a great week!


Glitter bomb!

Wow 2nd day posting in a row!! It MUST be the sunshine! ^_^ Although it's back to minus temperatures over here (BOO) but the sun is still shining bright!

So I was wandering around Walmart (bad idea, I know!) when I casually wandered over to the cosmetics area and casually glanced around the nail polishes to see what's new out there. Not that I was planning on buying anything, of course, I was just browsing.

When lo and behold...I see glitter in all different colours and I was instantly drawn to the display!

"Sally Hansen Gem Crush" I read on the bottle. Well...don't they look mighty purty??

So I grab one that appealed to me the most because goodness knows I wanted to buy all of them, and I picked up Be-jeweled.

Be-jeweled has dense purple glitter with larger peachy-orange glitter throughout. I liked how the wide brush applied for me, I haven't tried the thinner brush but I think I might have a tougher time with it.

Well, enough talking...let's see some pics!


In full sunlight! 

Shot in the shade.

And yet another gratuitous hand shot! ^_~

GORGEOUS GORGEOUS GORGEOUS! 3 coats to full opacity for me. I also used Sally Hansen Insta-dry AND Seche Vite for top coats to smooth things out. Not too bad in terms of grittiness but enough to annoy me. Oh, and drying time was great! Pretty fast I would say.

The bottles have two different types of brushes and it it determined by the shape of the cap. If the cap is fat and rounded like mine, then the brush is wider. If the cap is curved in like this ) (, then the brush is thinner.

Definitely pick this one up when you see it. I am also wanting Lady Luck which has magenta glitter.

Hello holo!

Hello all!!! I'm sorry I've been so MIA all these months!! Wedding planning has been bananas!

I've been feeling so happy lately with all the sunshine that we've been experiencing! What an awesome March  it's been! So in honour of awesome sunshine...I busted out the holo!! 

Here's Nfu Oh 62...I know that it's considered as the "dud"or the boring one of the bunch. Here is a shot in the shade.

So boring, right??

Let's see the "dud" in its full sunshiney glory! 

BAM! Holo greatness!

 Front of the bottle


Back of the bottle

Gratuitous hand shot!^_~

I did the "sandwich" method for this mani. 1 coat of Nfu Oh Aqua Base (which is amazeballs for these holos), 2 coats of 62, 1 coat of Seche Vite, then another coat of 62 to tops things off. My nails are freakishly good at holding on to a mani, but this method seems to work for me. I didn't even really need the last coat of 62, I just wanted to do it. Hee hee!

My cuticles are in an inexcusable state. So if you can find it in your hearts to forgive me...that would be great. =D

Haul part 2 and good news!

Gah! So much for putting up part 2 of the haul soon!! I'm so sorry it took me so long to do so!

14 MAC pigment samples that we ordered from The Beauty Sampler! Awesome choices of different pigments varying from around $2.50 to $3.00 for a 1/4 teaspoon and shipping was only $2.50! The good thing too is that you can choose the amount that you're getting! From 1/4 to 1/2 to 3/4 to full teaspoon.

From top left going clockwise:
Mauvement, Heritage Rouge, Old Gold, Vanilla

From top left going clockwise:
Revved Up, Vintage Gold, Mega Rich, Gold Stroke

From top left going clockwise:
Pink Bronze, Golden Olive, Gold Mode, Revved Up, Blue Brown, Pink Pearl

3 out of the 14 pigments were mine: Revved Up, Pink Pearl and Mauvement.

This is a shot of all of the pigments I`ve collected so far. The stack on top are my Bella Pierre shimmer pigments and the rest are my MAC pigments.

On a happy note...I just recently got engaged!!! Hence me not posting this haul right away plus the lack of swatches! I'm super excited but I'm gonna have to put a hold on my spending so I can save up for the wedding!

Haul!

Hello everyone! I'm back with a haul that I had just received yesterday. This is gonna be pic heavy...you have been warned!

Back story...I've been getting into MAC pigments recently and I've accumulated a few. So my friend jumped on the bandwagon with me and asked if she could also order some pigments whenever I make an order. So we combined and she got 11 pigments and I only ended up getting 3. ^_^' However, I had also made an order to Sigma and they arrived at the same time. The Sigma order took about 1 wk and a couple of days and the pigments took exactly a week to arrive.


First up is my haul from Sigma!

How my Sigma products were packaged.

I ordered the E45 and the F80 and got a free E35!

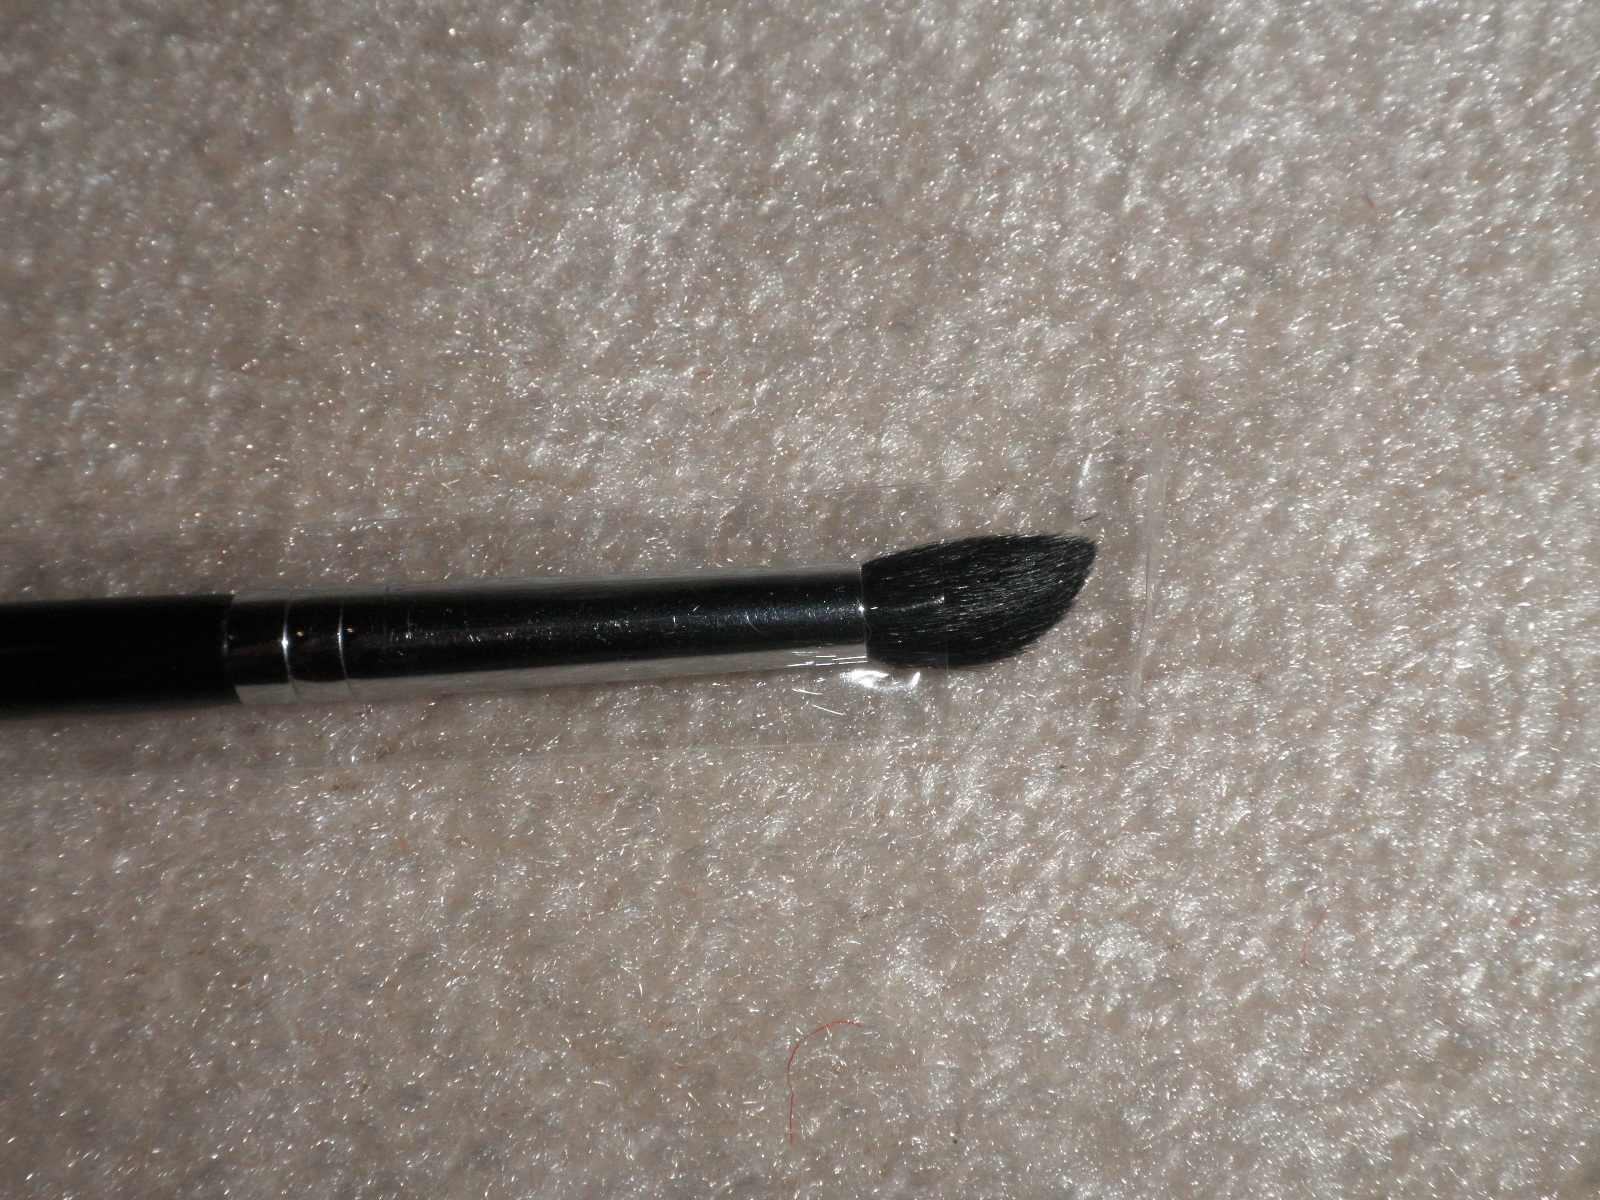
E45 - small tapered blending brush

Please forgive the random hair...I shed like crazy. :(

F80 - flat top kabuki with Synthetic Sigmax HD filament

They changed the lettering on the brushes! They're holographic now as opposed to plain white.

Both brushes together

I also ordered a brush roll for $20. The material feels like soft leather....gorgeous!!!!

Yay I finally have my very own brush roll!

Front 

Back (has a magnetic closure)

You can purchase these items at Sigma Beauty.


Part II of the haul coming soon!


Sigma eyes kit review

Hello everyone!! I've decided to post up a review of eyeshadow brushes that I got from Sigma. I purchased the Sigma Eyes kit 2 months ago and I've been using them everyday since then! The kit consists of 7 brushes and I have used them all.

From left to right: small angle, medium angled shading, large shader, pencil, tapered blending, eye shading, eyeliner

These are the descriptions of the brushes from the Sigma website.

Small Angle - E65 - Essential for the application of gel or cream eyeliner on the upper and lower lash line. This brush is also excellent for filling out the eyebrows. Synthetic bristles. 

Medium Angled Shading - E70 - Angled, tapered, flat top. Ideal to apply highlight shades underneath the eyebrow and on the inner corners. It can also be used for a precise application of darker shades on the crease area. Natural bristles.

Large Shader - E60 - Flat shape is ideal for application of cream formulas and eye shadow primers. It also works great with loose eye shadows or pigments. Can be used to apply color all over the lid or precisely on the lash line. Natural bristles. 
Pencil - E30 - Precise application of color on the crease, outer corner, and upper and lower lash line. Also ideal to smudge out pencil liner. Natural bristles.

Tapered Blending - E40 - Rounded and tapered top. Specially designed to apply and blend color on the crease. Natural bristles. 

Eye Shading - E55 - Soft and dense with a rounded finish. Can be used to apply pressed or loose eye shadows and pigments. Ideal to build intense color on the eyelid. Natural bristles.

Eyeliner - E05 - An extra-fine tipped synthetic fiber brush that delivers a precise, firm, even stroke to line the eyes. 

These brushes have been so useful to me ever since I got them. I've tried other brushes before, especially cheaper ones that I could get from drug stores or Walmart. I've never tried MAC brushes before but I've heard that these Sigma ones are comparable!

When I received these brushes, they were wrapped individually and put in a nice red drawstring pouch. There was also a very nice surprise! I got a free blending brush (E35) because my order was over a certain amount. I initially took a picture of my kit with my phone but I guess I deleted the picture. *face palm*

Since then, I've also ordered more brushes. I recently ordered the small tapered blending brush (E45) and also the flat top kabuki (F80). I also threw in a brush roll to hold my growing brush collection! 

All in all I am very excited about my purchases. I will be back to review the other two brushes I've ordered!

If you are interested in ordering brushes, make up palettes, brush rolls etc, please click on this link and look around!  There is also a link on the right to the Sigma website!

Re-discovery

Wow I haven't been here in so long I had to re-train myself on how to use blogger!!! *face palm* A very big I'm sorry to my followers for neglecting this blog!

I haven't really been doing my nails as much as I should. I've still been painting my nails but haven't done any designs or stamping. :(

I've recently gotten back into make-up especially since I've gotten a 88 eyeshadow palette for my birthday. I've also started ordering make-up brushes to supplement my rediscovered love for make-up. My fave brushes are from Sigma. I find that they are of very good quality, price is very affordable, shipping is pretty fast!

I've joined their affiliate program and we'll see how things go!

I will still use this blog to post up some pics of my nails if I do end up doing them. If not my nails, I will share some reviews of other beauty products that I've recently encountered!

Click on the link to start ordering from Sigma! http://www.sigmabeauty.com/?Click=131747

Black and White tips!


I finally got my Bundle Monster plates and lemme tell you...no regrets!!! I super love the designs that they have and they work just as well as the Konad plates!

So I decided to stray away from colour and do a little bit of black and white and here's what I came up with.

Left hand

Right hand

Both pictures taken in natural light without flash. I used Sally Hansen Insta Dry in Whirlwind White for the white tips and Wet n Wild Black Creme for stamping. The image came from BM plate 220.

I sponged the white tips on first then put a layer of Insta Dry top coat (absolute fave right now!) Then I stamped with Black Creme and voila! Black and white tips!

This one's a beauty!

And I'm talking about Milani 3D Holographic in Hi-Res. It's a pretty lavender with shimmery flecks and scattered holo particles. 

Gorgeous isn't it? And that's taken without flash in low lighting.

Another blurry shot. Look at all that goodness. You can even see some holo there! 

Now time to release the bling...flash shots! 


Hi-Res is one of those polishes that you HAVE to see for yourself in order to really appreciate its beauty. Some scattered holos sometimes look boring unless the light hits it just right. This polish on the other hand looks gorgeous under ANY light. I scoured Sears for this and picked up two other beauties in the process, Hi-Tech and Digital. I'm excited to wear the other two!

It's spring!!! Break out the pastels!

Wow, two posts in a row!??! *gasp* Yes yes, 'tis true! I have 2 days off in a row so I'm gonna make the most of it!
So I mentioned before about my mom buying me a China Glaze Pastel Kit from Winners. Here it is!


From top to bottom, left to right: 
Something Sweet - pastel pink
Light as Air - pastel lavender
Re-Fresh Mint - pastel green
Peachy Keen - pastel peach
Lemon Fizz - pastel yellow
Bahamian Escape - pastel blue

All of them except for Bahamian Escape are from the Up & Away Pastels from the Spring 2010 collection. Bahamian Escape is from the Bahama Blues Collection from Winter 2008.

I've only tried Peachy Keen so far and application is ok. It's a pastel so I didn't have high hopes lol. I'm excited to try all the other ones!

Coming back with a bang!

Hello everyone!! Here I am again...I've got a day off so time to update and show this blog some lovin'!!  

Here's my current mani, Nubar Reclaim and Nfu Oh 66! The first 3 pictures are taken in full sun. 2 coats of Nubar Reclaim is on my thumb, index, middle and pinky. 2 coats of Nfu Oh 66 on my ring finger. I used the Nfu Oh Aqua base coat.


Picture taken in the shade. You can still somewhat see the holo in the Nfu Oh 66.

I super love this mani! Nubar Reclaim as always applies like a DREAM! Doesn't matter what base coat you use. As for the Nfu Oh 66, I used the Aqua Base Coat so I literally only needed 2 coats. I never tried the Nfu Oh holos without the Aqua base coat so I don't know how it is personally with just a normal base coat. Apparently, it causes a lot of dragging and bald spots.

Back to Home Back to Top Base Coat and Beyond. Theme ligneous by pure-essence.net. Bloggerized by Chica Blogger.